Hello everyone,

I’ve been back at work a week now and I’m already exhausted! The days have flown by but we are now back to normal. I was really busy on Friday trying to get displays up for this terms work. Sooner I get them up, the less time I have to spend on them later. I’ve put all the borders up and laminated most of the stuff I want on there. I’ve chosen a large section on fractions, one on childrens entertainment during WW1 and one on sound for their Science topic.

I was having a look at what my resolutions are for this year and to see if I have covered any.

  • Have at least ten baby items sewn, aging from newborn to age 2/3.

Nope. None. Zilch. Disappointing really. Don’t think I have even sewn any nappy (diaper) covers. I plan on sewing some more of these in various sizes. I would love to make some mini shirts and I’ve some sewing patterns for a romper suit or two.

  • At least ten baby items knitted, aging from newborn to 2/3.

Yes! I have knitted a mini hat, booties and mitten set, and also a little blue jacket.

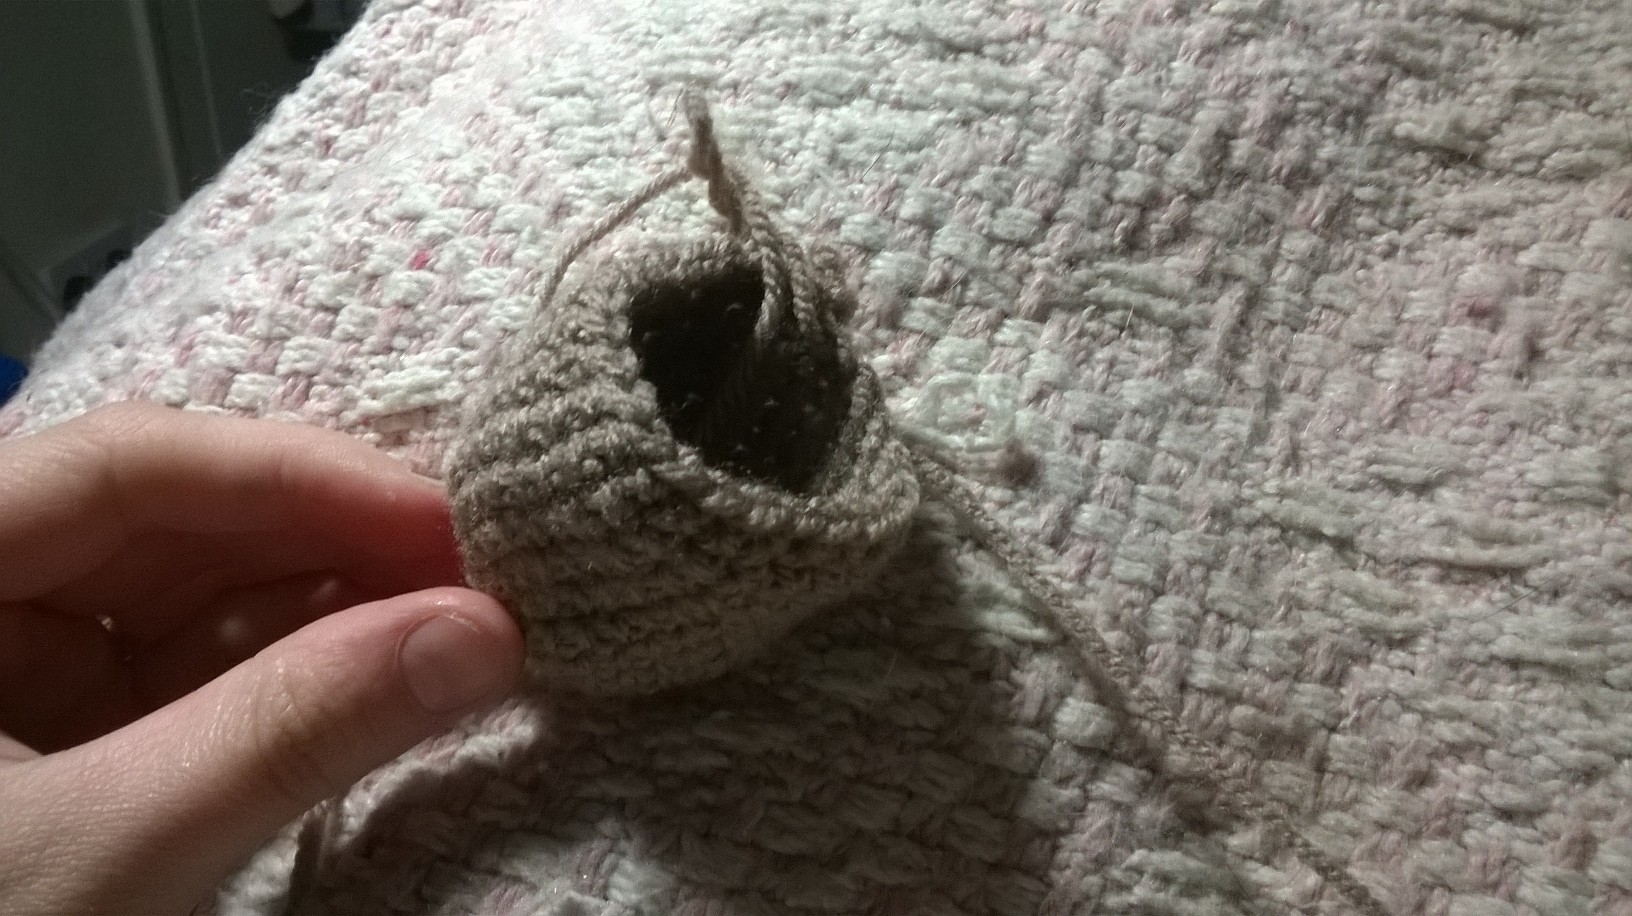
  • At least ten baby items crocheted, aging from newborn to 2/3. (Can you see the links here??)

A baby rattle (my very first tutorial on Ravelry!), two baby bibs and I also finished the crochet cot blanket.

  • To get every single fleece in the shed and porch washed and carded into gorgeous, soft, fluffy batts.

Hmm… I got a few bits of fleeces washed. I think I rushed the Ryeland and Whitefaced Woodland because they still feel greasy to the touch. I’ll stick them back in the wash with some more super hot water. The Mule one is absolutely fine and needs to go into the bag with the other washed one.

  • To spin up ten batts/tops/rovings that I have in my spinning box.

I also don’t think I’ve done much spinning. Well, I have dyed some plain white roving to make some yarn for my pin loom. Ooh, that reminds me, I found a load of Cheviot rovings in the cupboard. I also have spun up some of the Mule fleece.

  • To spin up an entire fleece.

I’m working on this! Can’t remember the name of the fleece again, grrr. It is a mule one.

  • To knit/crochet/weave something using the handspun yarn under my bed.

Yep! Most of this is gone already on the weaving loom.

  • To learn to weave on my weaving loom.

Yes!! In the last few days I have had my loom out and using some cotton have made a long scarf like piece of fabric. I plan on cutting this into sections and making small flannels and hand towels. I need to work out how to thread the loom to make larger hand towels. When I have cut these out I plan on crocheting around the edges using nice, bright cottons.

  • To weave on a pin loom and create a blanket from the squares using my handspun wool.

I have a pin loom, well, three now. They are really easy to make! I haven’t enough squares to make a blanket yet. When I have some more free time I will dye some more rovings. I think I must have about twenty squares now. I plan on getting some foam or something so I can block them all. Some have crumpled up so much.

  • To not buy any yarn/wool until I have used up as much as possible from the cabinet. (See how long this one lasts!)

Yeah… this didn’t last long. But to be fair, this is the first lot I have bought this year! Lovely set from Wool Warehouse. Have you seen their Drops Love You 5 range cottons? 80p a ball! I bought two of almost each colour.

  • To lose at least two stone.

Hrmph. I weighed myself last Monday and today. Apparently I have lost two pounds. It’s a start I ‘spose.

  • To reborn at least three reborn doll kits.

I started painting one kit the other day, but I wasn’t really into it so haven’t got much done. I’m not enjoying the new paints either. I’ve got onto the blushing but not sure how it is looking just yet. I don’t really want to buy any more of these as they take up an awful lot of space.

  • To go back to Germany at least once.

I literally won’t have time this year. Unless I go in the October holidays? I dunno. I’m saving up  at the moment, so I’m not sure what will happen here. I would love to go back to Cologne.

  • To have something I have wanted since I was little. 

We shall see what happens in August!

  • To make a baby blanket.

I finished one! Does that count? Not sure I fancy making another one at the moment, but I might feel like it later. I would probably crochet it, rather than knit it.

Hmm, I’m not doing terribly well, but it is only the first quarter of the year. I’ve done my planning for this week so I am going to relax, take a look at taking the weaving from the loom, take a bath and browse Ravelry for a while until something catches my eye.

Have a great evening!

xXx Love Kais xXx

Crochet Baby Rattle Tutorial – Part 2

Hello everyone,

Here is the final part of the Crochet Baby Rattle Tutorial. Hope this one is just as helpful as the first. 🙂

You can find the first part of the tutorial here – Crochet Baby Rattle Tutorial – Part 1 

WP_20150417_012

So, you will have the completed doughnut ring from the last session. This one concentrates on lots of crochet.

WP_20150418_005

Instead of putting the little bells into the head of the rattle, I have created a teeny tiny ball in which they can go. This is then put inside the bigger head of the rattle.

Using magic loop, SC (US)/DC (UK) 4 sts into the middle.

Ch1, Sc2 into each stitch around. (8)

Ch1, *Sc1, Sc2* all around (12)

Ch1, Sc into each st for three rows (12)

Push the little bells/noise makers into the middle of the ball. Bit tricky as you have to crochet it closed now.

WP_20150418_006

Ch1, *Sc1, Sc2tog* around (8)

Ch1, *Sc2tog* all around. (4)

Cut yarn and thread through the remaining stitches, binding tightly. Sew ends in.

WP_20150418_007

Only small!

Now to start on the head of the rattle.

Magic loop and sc4.

Ch1, 2Sc into each stitch. (8)

Ch1, *1sc, 2sc* all around (12)

Ch 1, *1sc, 1sc, 2sc* all around (16)

Ch1, *1sc, 1sc, 1sc, 2sc* all around (20)

Ch1, *1sc, 1sc, 1sc, 1sc, 2sc* all around (24)

Ch1, SC across each stitch for 8 rounds.

WP_20150418_014

Now you are going to stuff the bottom with whatever stuffing you have available, or some wadding. I used stuffing. Stuff the bottom, and around the sides, leaving a gap in the middle. Put the first little ball into the middle of this stuffing, like so –

WP_20150418_019

Now to crochet it closed again, just like before. We are working backwards from the previous instructions.

Ch1, *sc1, sc1, sc1, sc1, sc2tog* all around. (20)

Ch1, *sc1, sc1, sc1, sc2tog* all around (16)

Ch1, *sc2tog* all around. (8)

Make sure it is stuffed to the top.

Now, instead of finishing it off we are going to sew it straight onto the ring. Cut a long enough yarn to sew all around it.

WP_20150418_022

Work out a good place to put the head on and start to sew all around, pulling the yarn tightly to keep the head on well. Sew all the way around. WP_20150418_023

Make sure you go all the way round, leaving no gaps!

WP_20150418_024

And voila! Very pleased with this. Now to add some features. You can do any you like, but this is what I have done.

WP_20150418_025

I added some ears using Tunisian Crochet. There are lots of good links to do this online. I liked this because it meant I did not have to make ears and then sew them on later. You basically pick up six stitches (just like knitting) where you want the ear. You loop the yarn over once and pull it through the first stitch. Yarn over again, and over the next two stitches. Continue this way until you have finished. (Yo, pull through 2). Check picture below.

I did this three times, and then put an SC on either side to make the ears rounder. Repeat for other ear.

WP_20150418_026

You can then add a little colour to the face to give it a personality.

WP_20150418_027

I long stitched into the first ear, threaded the needle through the head, and then out the other side. Repeat this.

WP_20150418_028

Add a little nose! I stitched a small triangle and then filled this in.

WP_20150418_030

And then there you have it! A little, fully working baby rattle. I hope that you enjoy it and would love to see some photos if you decide to make it. I plan on making lots more in different colours and different noises.

Perhaps try with crinkly plastic? Seeds? Lots of possibilities. The only thing I would say is to make sure it is very securely sewn in so nothing can escape.

Have fun everyone!

xXx Love Kais xXx

Crochet Baby Rattle Tutorial – Part 1

Hello everyone,

I have seen some lovely patterns for baby toys as I was getting a little bored with constantly knitting and crocheting clothes. I thought maybe it would be nice to make some toys? I had a quick glance through patterns on Ravelry and Google, but settled on a mix of things I had seen. This rattle is easy to make and hopefully the instructions are easy to follow.

You need –

A round ring of some sort, roughly 3″ by 3″. I used these kind of links. They are a bit wonky but you see how they work out later. I bought these from an ASDA store (I’m in the UK) but as you can see, these can be bought in the US too.

Crochet hook size 4mm. 

DK yarn x 2 colours. I’m just using acrylic, but I’m sure anything will work.

Strips of wadding, about an inch thick.

Strips of cotton or fleece, about an inch thick.

Needle and thread. I use invisible thread.

Wool or tapestry needle. 

A rattling noise! I use craft bells to make a nice tinkly rattling sound, but you can use anything.

Stuffing. 

WP_20150417_003

Here is an example of what you need first. As you can see the fleece and wadding are just scrappy bits, but they work well.

WP_20150417_005

Start wrapping the wadding around the link. This make it soft and squeezy, rather than hard. It does not matter if the ends are lifting up slightly, this will get covered by the fleece.

WP_20150417_006

And this is what it will look like when finished.

WP_20150417_007

Start the same again using the cotton. Wrap it all the way round making sure to cover up all the wadding.

WP_20150417_008

There we go! Looks like a doughnut. Use your needle and thread to sew down the last flap of cotton. This should only need a few stitches, it’s just to hold it down.

WP_20150417_009

Using your crochet hook you are going to make the cover for the rattle. Remember you may need to use a few more or few less stitches than me according to how big your link is.

Make a chain of 15 stitches.

Turn and SC(US)/DC(UK) back down the line. – 14 stitches. 

Continue going back and forth alternating the colours every four rows. Keep checking against your loop to make sure it is long enough. It should be able to go all the way round the link and meet in the middle too.

I did ten colour changes. Make sure to do the last colour different from your first!

WP_20150417_010

Right, now we are ready! I would advise that you sew in the ends of the piece first as they tend to get in the way.

WP_20150417_011

Use a wool needle to start to slowly sew the crochet piece onto the ring. It’s fairly straightforward at the start but as you continue it gets a bit tricky! I didn’t sew up the pieces to meet right until the end. I sewed the piece in the middle as much as possible to try and keep the stitches hidden.

WP_20150417_012

And voila! One starter rattle handle. I’m really pleased with it.

The next part will be showing the top of the rattle and how to put the noise maker (or whatever you have chosen) into it. I will try and put that up today.

Here is the link to the next part – Crochet Baby Rattle Tutorial – Part 2

Happy Rattle Making!

xXx Love Kais xXx

Hello everyone,

It’s been a lovely holiday so far, shame it’s nearly at the end. Two more days and then back to work! I’ve realised how much I’ve been able to do when I haven’t been working. The first week I was at A’s flat, well, our flat. We gave it a huge spring clean and changed furniture around. It looks really nice and it’s very homely. It also feels like it has a lot more room too.

The first week I managed to get quite a bit of knitting and stuff done. Also got quite a bit done on the train up too, instead of working. Bliss! I had to come up on the Friday as A was filming on the Saturday and needed my help. He is currently at University studying media and editing. Part of his course this year is creating a short film (20 mins or so) and he has chosen his based on an Indie game. The actors and actresses he got were very nice and it seemed a good laugh all round.

So… photos!

I FINALLY got this finished!

WP_20150409_002

I thought the best colour to go border it would be purple. It is pretty hard trying to get the correct amount of stitches up the side so it co-ordinates.

WP_20150410_026

This photo is upside down but it shows the full effect. I do like it. I have sewn all the ends in now though.

I have knitted a newborn hat, mittens and booties set. I really like them and they knitted up quickly. I chose to knit these on dpns, rather than the straights the pattern called for so it would be easier than sewing up at the end. I did have to use straights for the booties though.

WP_20150406_008

I started on some baby bibs when I was there too. I saw some basic ones on Ravelry and then decided to make them up myself. I had ordered some cotton online a few days beforehand and have really enjoyed working with it. Such vibrant colours.

WP_20150417_017

I went around each bib with a white cotton border and finished each bib with a red apple button. I plan on using the same red button for each bib I make. I did see some with a green leaf on though, which I might change to instead. I’ve put them onto the baby doll and they fit really well. Being cotton they are easy to clean and wipe up, then stick in the washer. I’ve designed them so that they fit over the shoulders nicely rather than the plain circle. As you can see in the picture, I’ve not done terribly well, but practice makes perfect! I’m wondering whether to put some writing on it or not, such as the days of the week, or ABC.

WP_20150417_016

I made this little jacket at the flat too, and finished off the buttons from my brothers house. (He has a gorgeous big glass bowl of buttons in his house). I am not a fan of the pattern and as such, probably won’t knit this again. I forgot to do a button hole at the bottom right hand corner but the button squeezes through anyway. It was knit on 5.5mm needles (size 9 US I think). I didn’t have my 5.5mm dpns for the sleeve so went round all the charity shops in the area to see if I could find any. None at all! Only two had any needles but not the size, and other charity shops refused to sell them! Dangerous apparently! That made me very angry. What nonsense! How is a knitting needle dangerous enough to refuse to sell? I’ve seen them sell knife sets, and tools. A sharpened pencil can do some damage, and a fork! Grrr…. Anyway, I checked out the proper yarn shops and the first one didn’t have any in that size so suggested the other shop. She was very helpful. The second shop was small and on my way back. The owner was talking to some customer for five minutes, and then when the customer was browsing I thought she would ask me if I needed help as she was not doing anything. I was looking through all the needles, back and forth, but no, nothing. Didn’t get a hello, nothing. Makes me mad too. I often find that since I am a younger knitter, people don’t bother with me in their shops. I was in the same shop two days previously buying cotton yarn from her! Grr… again!

WP_20150417_002

I found this pile of squares in another charity shop and thought I might be able to do something with them. They are not great colours but I thought they would work for a simple quilt that I could take to the beach or use outside. The squares were roughly 5″ by 5″. I sewed in columns and then rows. I then backed it with wadding and yellow fleece fabric. The fabric is so smooth!

WP_20150417_001

I also changed the squares so they were opposite sides to each other, e.g. the straight up and down blue, and the across blue.

WP_20150417_013

WP_20150417_014

Lovely and soft and warm! Mum has been testing it out in the kitchen and she says it is very warm! ❤

Whilst at the flat A showed me his shirt and asked if I had a needle and thread so he could mend his shirt. I was impressed that he wanted to do it himself! I didn’t at the time (I did, I found some later in my bag!) so I bought him a mini sewing kit from the pound shop. I showed him how to start and stop handstitching and how to do a simple mending stitch. I’m very impressed with the good job he did.

WP_20150413_015

Be prepared for absolute cuteness in the next photo! This gorgeous little lady is Livvy, my brother and his partners puppy. She is a Collie dog and is adorable. How can you not fall in love with that little face?? We had a bit of a panic with her at first. The day after he got her she started having fits which is obviously really scary. I think she had eight in five days. When they took her to the vet they had blood tests and so on and had to wait a week for the results. During that time she didn’t have anymore. We thought perhaps she was epileptic but the results showed she has no problems whatsoever! Turns out she had had a bad reaction to the worming tablets she was given by the previous owner. But now that it has worked out of her system she is a happy, healthy, chatty dog who loves company. ❤

WP_20150407_006

I had a good look through all the baby stuff I’ve made over the past few years. I’m pretty impressed with it all. Can you guess how many cardigans and jumpers I’ve made altogether? 23!! So happy with them all. The only thing I found was that I’ve been pretty lazy and not sewn in the ends on quite a few items, so that needs done. I’ve put all the items that that needs doing to in a biggish box in the cupboard, right at the front. When I have a spare hour I’m going to pull out that box and try and get them all done in one go. Fun….not!

WP_20150416_001

And what am I going to make next?

I’m working on making some crocheted baby rattles. I’ve actually made a tutorial for the first part as I work through it, bit by bit. It’s a little late to be doing that now (half past midnight) so I’ll try and get it up tomorrow.

Have a great evening!

xXx Love Kais xXx

Hello everyone,

An awfully long time since I last posted. Gosh, I feel like I hardly have any time at all these past few months! Not that I am complaining though – I LOVE my job. Currently I am on a two weeks holiday, which boy, do I need! The first lie in I had was amaaaazing.

I’m currently at A’s at the moment and we are having great fun. Except perhaps for the fridge fiasco. It’s taken the landlady months and months to finally get us a new fridge. Apparently, one is being delivered tomorrow, so we have taken the freezer stuff out and put it in the sink to allow this fridge to be left unplugged for 24 hours before being taken away. We thought filling the sink with lots of ice would help, but it hasn’t really. A couple of things have had to be thrown away but a few bits are ok. We shall see tomorrow anyway, we will probably have to eat it all. Good thing there isn’t a lot but I hate waste, especially food waste.

I’m hoping that when I am back home I will be able to sort of my sewing/craft table and try and get some sewing done. I have been getting bits of knitting done when I am at home as it is something I can relax with in bed after working all day. I got some bits from Blackpool the other day, including three new sweater drying frames. These will be used for drying washed fleece in the summer.

I ordered some more bits from eBay this afternoon. Some new double pointed knitting needles because some certain animals (I’m looking at you Aya and Miko!) decided it was a good idea to chew the ends of some of them! It hasn’t ruined them much, but I think some new pairs will be in order. Anyway, £3 for eleven new pairs of bamboo needles is a great price, even though I do have to wait three weeks for them to arrive.

So, what have I been up to crafty wise?

WP_20150308_001[1]

This is the edging of a baby hat I found on Ravelry. It was a fairly simple knit, but I think I did most of the decreasing on my own.

http://www.ravelry.com/patterns/library/baby-hat-with-leaf-edging

I finished it fairly quickly. I think the colour matches nicely.

WP_20150331_002[1]

Being modelled on the head of one of my reborn doll kits!

I’m desperate to get started on another kit, but again, just trying to get the time to get them done.

I started on a pair of baby trousers. In the instructions it says to knit them leg up, one at a time. I decided to use the magic loop method (go me!) and do both legs at the same time. I did a couple of inches, but really wasn’t feeling it with this project. I’ve abandoned it in favour of other things.

WP_20150330_004[1]

I found the cutest little hat and mittens and booties patterns on Ravelry too. It says in the pattern to make it on straight needles and then sew it up, but I’ve adapted it and changed it a little to use double pointed needles.

http://www.ravelry.com/patterns/library/garter-stitch-ridge-baby-hat

I thought I had some photos of what I have done so far, but apparently not. I will put some up next time.

I ordered some wool from the Wool Warehouse Wednesday or Thursday last week so waiting for that to arrive. It is a Bank Holiday tomorrow so there is no postal service. I will put a photo up when I get it.

Hope everyone is having a Happy Easter!

xXx Love Kais xXx